Wine Cabinet

| 9/10/2011 | 2 comments |
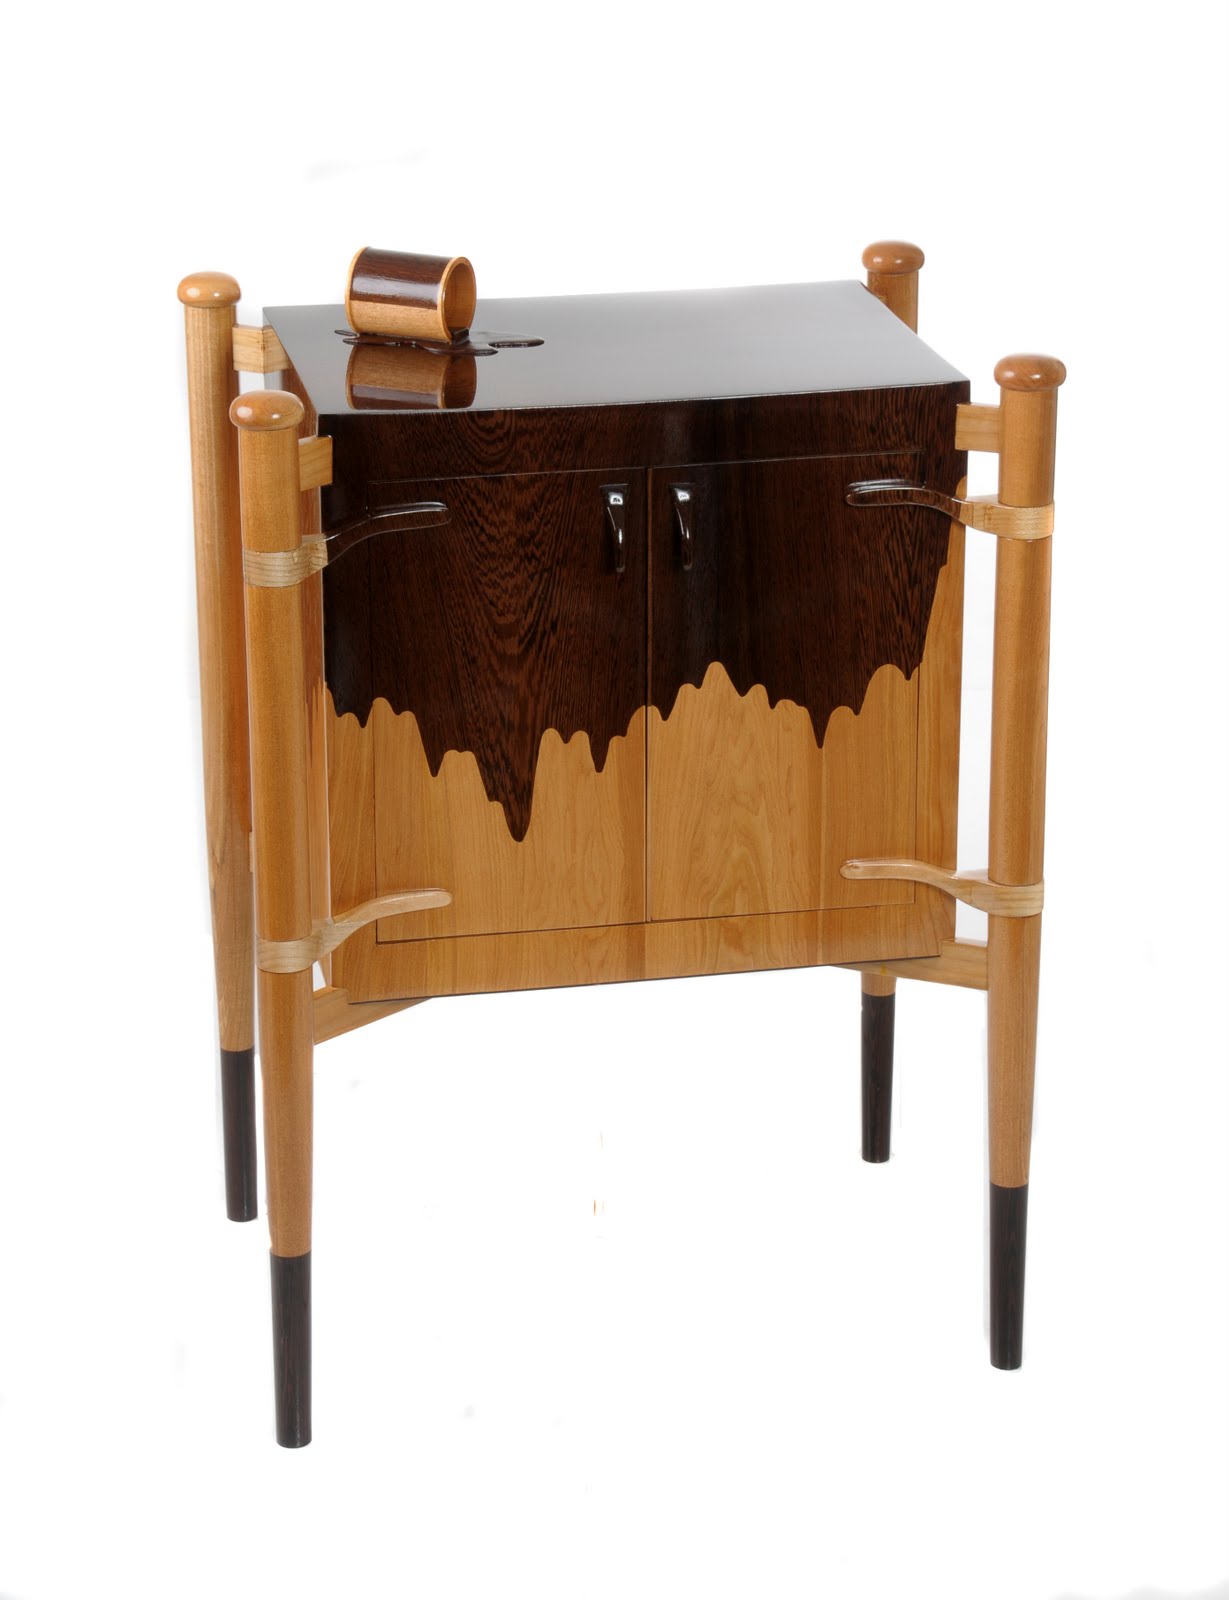
Tom Muellner sent in this beautiful wine cabinet. (This is my first attempt to update this blog from my Androit Tablet so let's see what happens! My apologies to Tom if this doesnt come out very well.)

My home shop consists of 4 Shopsmiths: two 10er's and two Mk5's. The age range is 1952 to 1986. One Mk5 is a "shortie' with a 510 table setup.

Why four? I suppose it's because I don't have room for more. What can I say? I'm a "Smith" junkie. Actually, that's usually how I bought them. Other than my original 10er that my dad bought new, all have been acquired in various stages of disrepair. All have been rebuilt by me.

In the process, I've gotten just about all the available accessories. I leave the 510 shortie set as a table saw with the jointer on the end, the 500 powers my bandsaw & is used mostly in horizontal boring or drill press mode, one 10er is mostly lathe or disk sander, and the other 10er is set up as a dado saw & has an extra table with a router mounted under it.

I do some converting or swapping modes from time to time, depending on my needs, but the default setup seems to serve me well.

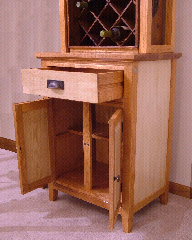
This is a wine cabinet I built for my son using an old wood wine case as the focal point for bottles. Dados, miters, rabbets, complex operations...all done on the 10er & Mk5. Everything fits. How about that???
Inbox'>My home shop consists of 4 Shopsmiths: two 10er's and two Mk5's. The age range is 1952 to 1986. One Mk5 is a "shortie' with a 510 table setup.

Why four? I suppose it's because I don't have room for more. What can I say? I'm a "Smith" junkie. Actually, that's usually how I bought them. Other than my original 10er that my dad bought new, all have been acquired in various stages of disrepair. All have been rebuilt by me.

In the process, I've gotten just about all the available accessories. I leave the 510 shortie set as a table saw with the jointer on the end, the 500 powers my bandsaw & is used mostly in horizontal boring or drill press mode, one 10er is mostly lathe or disk sander, and the other 10er is set up as a dado saw & has an extra table with a router mounted under it.

I do some converting or swapping modes from time to time, depending on my needs, but the default setup seems to serve me well.

This is a wine cabinet I built for my son using an old wood wine case as the focal point for bottles. Dados, miters, rabbets, complex operations...all done on the 10er & Mk5. Everything fits. How about that???


Walnut Flag Case

| 3/01/2011 | 0 comments |
Bill V. sent me this picture of a this flag case he built with his Shopsmith and SPTs.


Our woodworking club received a request for a triangular flag box.  I downloaded some "plans" which included dimensions but not angles, so I concluded that the apex angle was 90 deg. The legs are 20.250 inches and the bottom is 20 5/8 inches according to the plan. This meant that the lower interior angles had to be 45 deg (according to Mr. Euclid.) Two equal sides means two equal angles. The sum of all interior angles of a triangle add up to 180 Deg. 180 minus 90 equals 90 divided by two equals 45 for each lower angle interior. That meant that the two lower miters had to be cut to 22.5 Deg for the 45 deg angle but cutting them flat did not work. The interior 22.5 angle had to be cut with the piece held vertically using the fixture shown below.


Thanks, Bill!
| 1/31/2011 | 0 comments |
Tom P. in Madison, Indiana sent in this beautiful entertainment center he built with his Shopsmith.

I've had a used Mark V since 2002. Since then I have made all my projects since. Attached is a entertainment center for my son and his family. I used the Shopsmith to make all aspects of this project. Most is made out of Cherry veneer with solid cherry facing. When I made the sliding shelves I realized that I didn't buy full extension slides, so I added a sliding shelf on top of another shelf. Basicly saying that when the main slide pulls out then stops, the upper shelf sllides out farther. You might be able to see it one of the pictures. Table saw portion of my Mark V is the component used most for this project.


Crib and Changing Table

| 1/05/2011 | 0 comments |
It's been a while since I've had time to update the site, but I just received this submission from Jon and decided to go ahead and post it. Hopefully I can get back to regular updates soon.

This is the crib and changing table I built out of red oak for my first born back in July. It is my first try at woodworking and prior to this I had never used a table saw. I had also never heard of the Shopsmith Mark V before I stumbled upon one on craigslist.

As far as the various operations – I used the table saw to rip and crosscut all of the pieces, as well as cutting the tenons. The drill press mode was used for doing the mortises for all the slats and drilling holes for the hardware. The Horizontal boring configuration helped with the dowels that I used to put the headboard together.

Since making the crib I have been doing some other projects including lathe work. The fact that I already had the capability meant I didn’t have to worry about getting a new machine to try something new.

Thanks,
Jon

Jon, congrats to you and your wife for the birth of your first child! That is a fantastic first project and I hope it stays in your family for generations! Keep up the great work!

Pickup Truck Jewelry Box & Golf Cart

| 11/12/2010 | 1 comments |
These two projects come from Eric in Sebring Fl.  First up is a pickup truck jewelry box.

The wood is aspen and cherry, the plans are from Toys and Joys. I used the SS to rip the the pieces to size with a planer blade, and the SS bandsaw for resawing (only had to do a little sanding on the sawed sufaces. Used my RAS to cut pieces to length, and a 10" band saw for the radius cuts.  The truck is 16" long.

I choose aspen because I wanted a near white wood to contrast with the cherry, it works a lot like poplar.I did not keep tract of the time spent working on the truck I was doing other not so fun projects at the same time, but I think 8-10 hrs of actual time over a two week period.


 Eric also made this model golf cart for his brother-in-law.

His cart is burgundy so using cherry was a no-brainer. The top is aspen, the bags are oak and the clubs are 1/8" dowel and basswood.

Child's Picnic Table

| 11/05/2010 | 0 comments |
Bob S. in St. Louis put together these little really nice little picnic tables for his grandkids.

The first table I built out of 5/8" cedar fencing. For the one Granddaughter for Xmas.


I figured that I better build another one for the other Granddaughter. This one I used 1X6 & 1X3 cedar boards, which turned out to be 11/16" thick from Home Depot. I had to really pick through them to find anything decent enough to use. Also this one I had just finished sanding before the final top coat. 


On both of them, I did a LOT of rounding of corners and edges. 

Teardrop Travel Trailer

| 10/29/2010 | 2 comments |
Dave from Juneau built this beautiful teardrop travel trailer which proves the Shopsmith can take on a project of any size.


The trailer itself is wood strip western red cedar, alaska yellow cedar and purple heart with steam bent ash trim. The strips were ripped on the table saw, and planned to 1/4 inch on the SS. The cabinets are ash and cherry with hand caning...of course, all built on the SS. The whole trailer is fiberglassed and sprayed with Dupont Chromaclear auto clear for UV protection.


I don't really have a shop, so the trailer and tools occupied a large part of the garage. That's one really nioce thing for me about the SS. On a project this size, I tried to do the majority of the ripping and planning of the strips outside in the summer to keep the dust down. It took about three winters to complete as a hobby.

This pic of the front shows a little better detail on how the cedar strips are put together.

The trailer has a front shelf and rear cabinets in this cherry with ash inlays/caned theme.

Open Sided Bookcases

| 10/22/2010 | 0 comments |
Forrest from Huntington Beach, CA sent in pictures of these great bookshelves he built for his wife.  Great job, Forrest!  My wife recently asked me for something similar so I might steal some of your design.

This bookcase was my first.  It is about 4 ft tall made of mahogany with shellac finish.  The top is frame & panel.


My wife then wanted 2 bookcase, white, each 3 ft tall.  The prototype turned out to be too short for her needs.  Poplar with brush painted Behr interior acrylic.


She liked the 'open' look and wanted 2 at 6 ft.  Also polar but spray painted with Sherwin-Williams pigmented lacquer to match the window cornices.  To enhance the 'open' look, I painted the back the same color as the walls.  The mouldings are store-bought and the reeding with a hand-held router.


FOR ALL FOUR:  I used the SS table saw, jointer, planer and drill press not only for the cases, but also for the several jigs that I made to ease machining.

Model Car

| 10/15/2010 | 0 comments |
Considering the craftsmanship on this model car as well as the size, I don't think it's fair to call it a toy!

Here are some photos of my homemade 'Rolls Royce,' my "Project Heavy Roller."

The Shopsmith and its Bandsaw were my main tools.  For patterns, I mostly scaled-up a tiny antique bookend I have, which has a miniature classic car on it.

I roughly cut and bored some walnut wheels to accept some 6203 bearings I had on hand.  After initial turning on the Lathe, I epoxied the bearings inside the wheels, then used a simple jig to turn the glued bearing/wheel combinations against the 12" sanding disk, so that their perimeters were dead true and concentric.

The Drum Sander was very helpful for shaping the wheel-wells of the fenders in a ganged fashion.

Horizontal Boring is one of my favorite operations on the Shopsmith. When using drill-bits, I probably do 70% of my jobs in horizontal mode and 30% in drill-press vertical mode.  Using horizontal-boring allowed me to put dowel-holes in my "headlight blank pieces" prior to turning them, and put dowel-holes in the "engine cover & hood" block, all at precise orientations.  After turning my headlights on the lathe, I just doweled them to the body and they aimed perfectly straight with no fuss at all.

Some steps of the assembly are shown while the woods were fresh (walnut, padauk, cherry, maple, zebrawood, myrtle).   There is also a "aged one year" photo showing how the cherry and padauk have darkened while the walnut has lightened slightly.


Best Regards

Chris
Indianapolis

r

Child's Rocking Chair

| 10/08/2010 | 1 comments |
This great little rocking chair was built by Bob S. in St. Louis Missouri for his granddaughter. 
This Teddy Bear chair for my GrandDaughter was built with my ShopSmith. Using the table saw, jointer, bandsaw, router function disk, belt & drum sanders.


Curio Table

| 9/16/2010 | 2 comments |
This stunning curio table was built by Paul M.  Paul used all 5 main functions of his Shopsmith 10ER. Here's what he has to say about using the Shopsmith 10ER on this project:

The veneered "Curio Cabinet" is a good example of the precision that can be achieved with even the oldest models of Shopsmith. The most critical fits in this piece are the matched grain miters on the corners. With no framing inside the miter must be a perfect fit to glue properly. If the miter is open on the outside the corner is ruined. If the miter is open on the inside, there is no glue joint. To top it off, you can't keep re-cutting a joint because not only will it ruin the grain match, but all the other corners will have to be altered to size and they are all grain matches. You only get one chance to get it right. This was accomplished easily on my 10 ER, a tool that many would dismiss as a poor choice for this because it has a tilting table and limited mitering width. I constructed a very simple miter sled for the job and because the table and alignment of the 10ER were accurate and rigid the sled worked perfectly. This is only the most obvious example but it relates to one of the biggest "negatives" blamed on the Shopsmith. My 10 ER will not produce "production efficiency" because of the changeovers required between functions but it was never meant to. What it will produce is precision results.


The full build was documented with pictures that can be seen in this photo album.

Beauty shots of the final product are in this photo album.
Table Saw
Disc Sander


Drill Press
Horizontal Boring Machine
Lathe